

The students were placed into groups of 4-5 students, and presented with a bag of "junk". Using only the material found in the bag, they were required to design and create a "harvest cart" that would carry the heaviest pumpkin.
For the bag of "junk", I use whatever I can find, but I always make sure that each group gets the same items. Here is what I was able to dig up this time around.
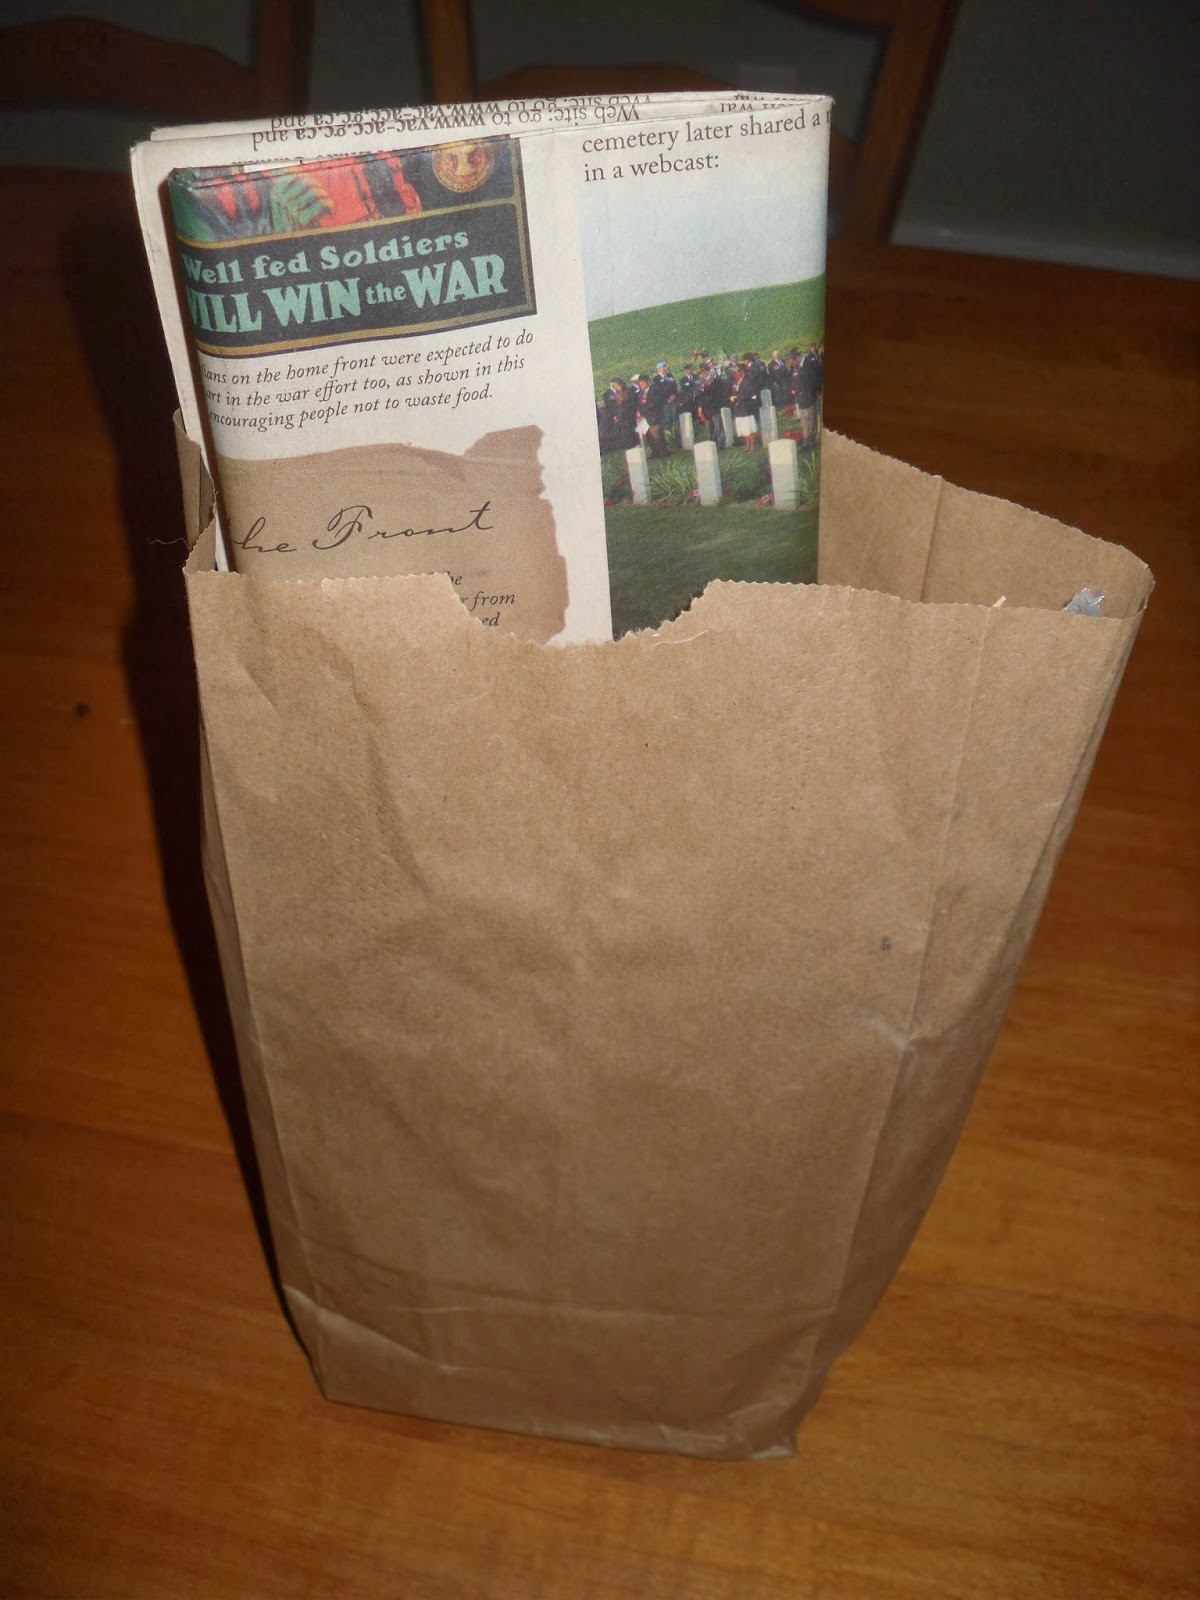
-paper bags
-juice concentrate lids
-nails
-tacs
-milk lids
-straws
-paper clips
-clothes pins
-pipe cleaners
-elastics
-popsicle sticks
-skewers
-construction paper
-foam paper
-newspaper
-string/yarn
-masking tape/duct tape (I usually give an arm's length)
-hot glue (each team is given a set amount of time to use the hot glue gun)

If you plan on doing this activity in your class, your supplies could look entirely different than mine, don't stress about finding the same things. That is what I love about this activity, the students are basically making something from nothing...the more random the items, the more creative the final product!
**I always send my students on a scavenger hunt at the beginning of the year to collect things I will find useful in my math classroom, so I always have plenty of junk lying around. If you don't have a pile of junk lying around your classroom like myself...I would recommend starting to collect supplies a couple of weeks in advance. Make sure to ask your students and other staff members for help.**
Ok, back to the challenge.
I usually start by showing my students a few ideas on the projector. Ie. A picture of a wagon, wheelbarrow, old fashioned cart, etc. just to get them thinking.
Each group was required to first sketch their cart, before beginning construction. Depending on your students, the construction phase can take anywhere between 1 and 3 classes.
Unfortunately, I forgot to take pictures during the construction phase, so I will skip ahead to the testing phase.
Down the middle of my classroom, I placed masking tape about 5 meters apart signifying the start and finish line. Each group was required to transport the pumpkin on their cart by either pushing or pulling. If the cart made it the full distance with no major signs of distress, it made it to the next level.
With each level the pumpkin increases in size. I usually start of with one of those small ornamental pumpkins, just to make sure everyone passes the first round. Make sure that you have a variety of different sized pumpkins (I usually write the weight on the pumpkin for the students to see) I would recommend having at least 6 different sizes. I always end up being amazed at how heavy a pumpkin some of their creations can actually withstand!
Here's a few pictures of us testing the carts out. (sorry, they aren't the greatest)


The kids had a blast!
I hope you try this activity with your kids or something like it. It is a great way to get kids interacting with one another and putting their creative porblem solving skills to the test. I also find this to be a great activity for incoporating the design process, which is a large component of their science mark.
To finish the week off, the kids were all able to carve a pumpkin to take home.

I hope everyone had a great Halloween, next up...Christmas!
Kim


Kim! Love this!! You should add it to the Math Is Real Life link up! What a great application and activity!
ReplyDelete