Monday, 11 November 2013

Reports are DONE! Time to celebrate!

I am very happy to inform you that, as of 10:45 p.m. last night, I submitted my last class of report card comments for term 1. They were due at midnight so I had 1 hour and 15 minutes to spare!
Every year I promise myself that I will get them done ahead of time, but somehow they always seem to sneak up on me.

Reports are definitely time consuming and we have had the format of ours switched on us twice in the last few years. So it seems every year, something a little different is expected of us. Gone are the days of clicking on the pre-made comments, "so and so does satisfactory work" and poof, you were done. We are now required to write individual comments, highlighting each student's struggles, challenges, and goals, which I am all for, as it actually makes the comments meaningful and worth reading (at least I hope they get read, seeing that I spent the better part of my weekend writing them).

Even though I am in total agreement about writing individual comments, sometimes my attitude isn't so positive at around 10:00 at night, when I find myself staring at my computer screen, with those last few students left that you just can't seem to put two words together for to save your life.  I am sure more than a few of you know what I'm talking about.

So, this term, I was determined to make things a little easier on myself. I spoke to a teacher across the hall, who always seems to have her reports done a month in advance, and she told she gets the students to write the comments. Now let's think about this for a minute, I don't trust my own grammar and spelling at the best of times, how am I going trust my grade 8's to write their comments? Of course, she didn't mean literally allow them to write their comments in my grade book, but why not have them tell me, what they feel they struggled with, what they felt was a challenge, and what they hope to achieve next term. I feel that I know my students fairly well by the end of term 1, but I don't necessarily know how each of them feels about their growth over the term, and I am all about reflecting and journaling in math class, so this is what I came up with.


After I handed them out, I started by explaining the grading scale. I wanted to make sure to come up with kid friendly language that they would all understand. Second, we brainstormed about what concepts we have learned this term and filled in the top chart. Third, we also thought back and made a list of specific assignments they could reference in their answers on the back page.

Now that I have a good idea of how they feel they did this term, I am always interested to see how it compares with how I feel they did. Far too often, I find kids do not give themselves enough credit. Most of the ratings were pretty close, if not identical to what I had assigned them. But the part I was most interested in was the answers on the back. I find these answers to be a life-saver when writing comments. When I got stuck on a particular student, I would read their answers, it would jog my memory, and in the end it made for a much more personal comment that I know the students will connect with when they read it.

I will admit that once they hand them in, I immediately flip to the last question on the back to see the responses. My main goal every year is to get my students, all my students, to become more confident in their math abilities, and actually enjoy math. This answer let's me know if I am succeeding.

Here's a few that stood out. I hope you can see through the terrible penmanship and  grammar...


...and since in reality, teaching isn't all rainbows and lollipops...

Now, it may not seem that I am making much of an impact on this particular student (and trust me I am trying) but I did happen to catch her explaining an assignment to another student who had been absent, and I hadn't even asked her to. Plus she was explaining it correctly! So progress is being made, slowly but surely.


If you think you could use this reflection in your own math classroom, you can download your copy here.


So here we are at the end of the term, it feels like a little celebration is in order.
I want to take this time to tell you about a little (it's actually quite big) giveaway that I am taking part in this week.

My blogging buddy Meg, over at "The Teacher Studio" is celebrating her brand new blog design with an amazing giveaway. Some amazing teacher authors have donated $10 shopping sprees in their stores. Each day is a different grade range so head over to her blog to check out the details. I am being featured on Thursday in the grade 5/6 package, so I will have some more info for you then. You don't want to miss out on this one.

http://www.theteacherstudio.com/2013/11/its-all-new-giveaway-all-this-week.html


Good luck!

Kim

Saturday, 9 November 2013

Math is Real Life - November Edition

It's that time of the month again, and I am eager to once again join up with the fabulous linky hosted by Miss Math Dork, 4mulafun, Fourth Grade Studio, and Teaching to Inspire in 5th!


So here we are, the first full week of November and it is definitely feeling like winter outside.

This month, I wanted to write about something very important to me...saving money! I fully admit I am a bargain hunter and I will not pay full price for anything! I was taught very young the value of a dollar, and how to stretch it. Those who know me, make fun of me all the time, but hey it makes me happy! Each time I go shopping it is like my own little math challenge to save the most money possible.

Being Canadian, we already celebrated Thanksgiving back in October, and now that we are in our new house, we have the room to host such dinners. Well, as I am sure you know having a large family dinner can be expensive. Luckily everyone signed up to bring an item of food, so I was left with the turkey and the pumpkin pie...and so began my hunt for getting the best deal on my holiday dinner.

Step 1 - Do your research

In order to get the best deals on anything, you need to know your prices. Thursday the flyers arrive at the end of my driveway, which is one of the highlights of my week (sad I know, but hey its the little things in life...). So I started by looking through the flyers and comparing prices.  I didn't have to look far, as every flyer had a turkey on the cover, however I wanted to get the best deal all around, not just on the turkey. With my list beside me I compared all the prices of the items I was going to need to purchase to pull off a delicious dinner. Once I evaluated all the comparisons, I then decided on the store.

Step 2 - Make a plan

Most of the prices were actually pretty similar, so I took a few other things into consideration.


I decided to go to Safeway. Not only were the turkeys $0.99/lb, but if I did my shopping on Tuesday (customer appreciation day) I would save an additional 10% on my total order. I am also an avid Airmiles collector, and Safeway is the only grocery store to offer airmiles, so that helped me make my decision.

Before I headed out to the grocery store I finalized my shopping list, double checked my prices, did a quick coupon match-up, and patiently waited for Tuesday.

Step 3 - Go shopping!


When Tuesday finally arrived I was ready to go. I got everything I needed and didn't break the bank. The best deal, had to be the turkey.

Regular price- $20.56
Sale price- $13.72
Additional 10% discount - $1.37
Total cost of the turkey - $12.35
Total savings - $8.21

I ended up paying $12.35 for my 13.8 lb turkey, which turned out beautifully (I wish I had taken a picture) and it was more than enough for the family. We had turkey leftovers for 2 days and I was still able to make a huge pot of homemade soup.

I think I got my money's worth. What do you think?

I plan on teaching my students how to get the best deal, when we start learning about unit rates in the next few weeks...by then we will be thinking about Christmas dinner.
Here's a little preview of something I've been working on. I hope to have it posted by American Thanksgiving.

How did you use math this month? Any other bargain hunters like me out there? I would love to hear about it in the comments.

I hope all my Canadian friends had a great Thanksgiving, and I wish all my American friends a wonderful Thanksgiving.


Kim

Tuesday, 5 November 2013

The Harvest Cart Challenge

In order to get full use of the pumpkins we got delivered to the class. I decided to end the week with one final challenge. I call it "The Harvest Cart Challenge". I took my Wheelbarrow Challenge and put an Autumn spin on it.


The students were placed into groups of 4-5 students, and presented with a bag of "junk". Using only the material found in the bag, they were required to design and create a "harvest cart" that would carry the heaviest pumpkin.


For the bag of "junk", I use whatever I can find, but I always make sure that each group gets the same items. Here is what I was able to dig up this time around.
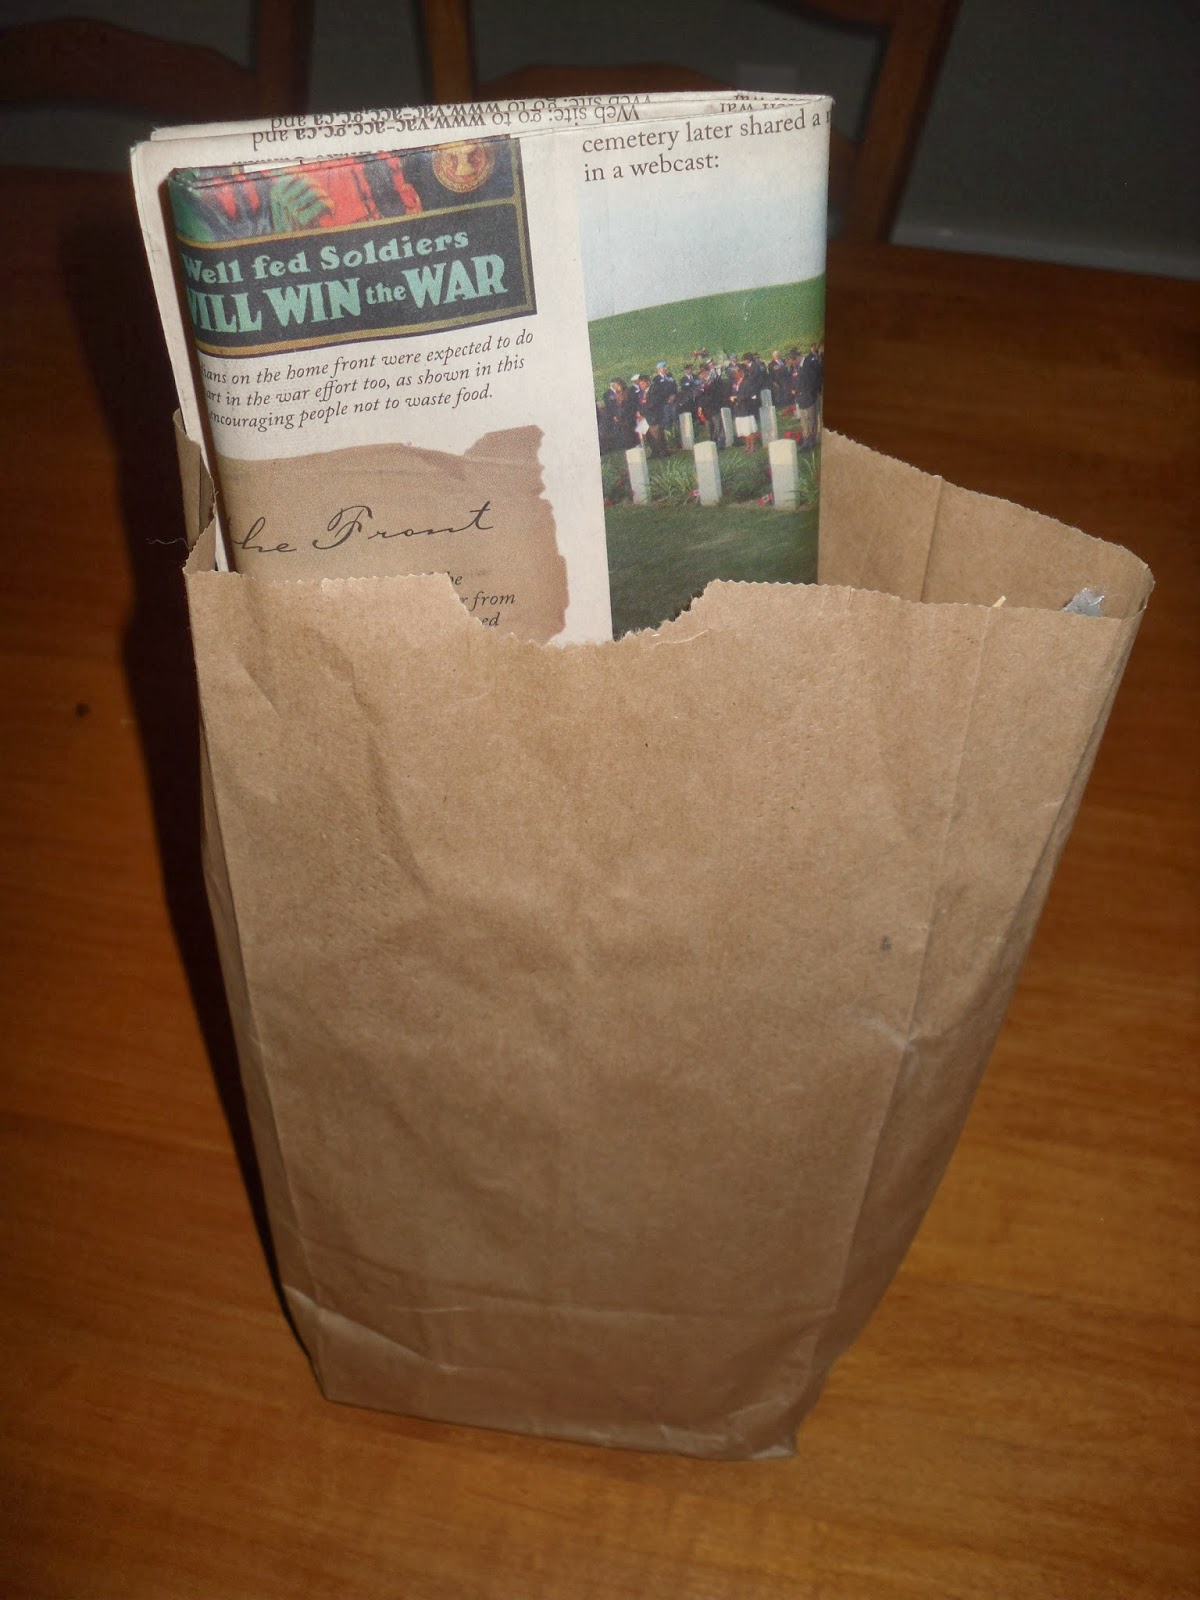
-paper bags
-juice concentrate lids
-nails
-tacs
-milk lids
-straws
-paper clips
-clothes pins
-pipe cleaners
-elastics
-popsicle sticks
-skewers
-construction paper
-foam paper
-newspaper
-string/yarn
-masking tape/duct tape (I usually give an arm's length)
-hot glue (each team is given a set amount of time to use the hot glue gun)


If you plan on doing this activity in your class, your supplies could look entirely different than mine, don't stress about finding the same things. That is what I love about this activity, the students are basically making something from nothing...the more random the items, the more creative the final product!

**I always send my students on a scavenger hunt at the beginning of the year to collect things I will find useful in my math classroom, so I always have plenty of junk lying around. If you don't have a pile of junk lying around your classroom like myself...I would recommend starting to collect supplies a couple of weeks in advance. Make sure to ask your students and other staff members for help.**

Ok, back to the challenge.
I usually start by showing my students a few ideas on the projector. Ie. A picture of a wagon, wheelbarrow, old fashioned cart, etc. just to get them thinking.

Each group was required to first sketch their cart, before beginning construction. Depending on your students, the construction phase can take anywhere between 1 and 3 classes.

Unfortunately, I forgot to take pictures during the construction phase, so I will skip ahead to the testing phase.

Down the middle of my classroom, I placed masking tape about 5 meters apart signifying the start and finish line. Each group was required to transport the pumpkin on their cart by either pushing or pulling. If the cart made it the full distance with no major signs of distress, it made it to the next level.
With each level the pumpkin increases in size. I usually start of with one of those small ornamental pumpkins, just to make sure everyone passes the first round. Make sure that you have a variety of different sized pumpkins (I usually write the weight on the pumpkin for the students to see) I would recommend having at least 6 different sizes. I always end up being amazed at how heavy a pumpkin some of their creations can actually withstand!

Here's a few pictures of us testing the carts out. (sorry, they aren't the greatest)


The kids had a blast!

I hope you try this activity with your kids or something like it. It is a great way to get kids interacting with one another and putting their creative porblem solving skills to the test. I also find this to be a great activity for incoporating the design process, which is a large component of their science mark.

To finish the week off, the kids were all able to carve a pumpkin to take home.


I hope everyone had a great Halloween, next up...Christmas!

Kim

Wednesday, 30 October 2013

Pumpkin Math - Day 2

Now that we have our data collected about "The Average Pumpkin", today my students were required to represent the data in the form of a graph and present it to the class.

Being grade 8, my students have had quite a bit of prior learning experiences with graphs, so I did not do any pre-teaching prior to this activity. However, if graphing is a newer concept to your students I might do this as a culminating activity to your unit. You can download my FREE set of graph posters here.

Back to our pumpkin data...
I kept my students in the same groups as yesterday and each group was given a sheet of data (the sheets that they recorded their data on yesterday as a class), along with an assignment to complete using that specific data.


Group 1 was required to show the average pumpkin's mass in the form of a horizontal bar graph.


Group 2 was required to show the average pumpkin's width and height in the form of a line graph.


Group 3 was required to show the preferences of eating pumpkin pie in the form of a pie graph.


 Group 4 was required to show the "rollability" of the average pumpkin in the form of a double bar graph.


Group 5 was required to show the amount of ribs the average pumpkin has in the form of a picture graph.


Lastly, group 6 was required to show the circumference of the average pumpkin in the form of a vertical bar graph.


Being grade 8, my main goal was for the students to not only be able to represent the data in the form of a graph, but be able to "teach" the rest of the class about the graph and the way it represents the data. For the younger grades you may choose to place the emphasis on a different part of the activity.

So far I think we've made pretty good use of our pumpkins, but I have yet another group challenge for tomorrow.

Kim

Tuesday, 29 October 2013

Pumpkin Math - Day 1


Ok, so now that I have all these pumpkins, let's do some math!


Today I split my kids into 6 groups of 4. Each group was given a pumpkin, and a booklet to work through. Within the booklet they needed to collect data related to their pumpkin. In order to collect the data they needed to travel around to a few different stations throughout the room.


The measurement station


 At this station students measured the height, width, and circumference of their pumpkin. They also measured the length of the stem.

The volume station


At this station students determined the volume of their pumpkin using the water displacement method.

The weigh station


At this station students measured the mass of their pumpkin by weighing it on a scale.

The "rollability" station


At this station students had a little fun by testing the rolling ability of their pumpkin. They tested it on a low inclined plan and a high inclined plan.


Students were also required to describe the appearance of their pumpkins, determine whether a pumpkin will float or sink, as well as survey their group regarding preferences for eating pumpkin pie.


Once the students were finished collecting all the data about their pumpkin, one group member was asked to come up to the front of the room to add their data to the charts provided. This way we have the class data compiled all in one place. This information will be used tomorrow, to help the students represent the data collected about "The Average Pumpkin".

Stay tuned...


Kim

If you are interested in trying this activity in your own classroom, you can find everything you need here.

Sunday, 27 October 2013

Pumpkins A-Plenty

I don't know about the other middle shool teachers out there, but sometimes I find myself a little jealous of all the creative things elementary teachers come up with to do with their students, especially around the holidays/seasons. I find when it comes to teaching middle school, especially if you are a subject-specific teacher, it can sometimes be a challenge to incoporate themes into your activities.

There are a few reasons why I think this is:
1) I always feel like I am in a race against time to meet all my outcomes/standards. Sometimes it seems like there just isn't the time to be creative, and let the kids have some fun.
2) Dealing with teenagers, sometimes it can be a challenge to come up with something that will hold their attention long enough and not come across as too juvenile.
3) If you are a teacher who teaches only 1 or 2 subjects to multiple groups of students it can be hard to integrate your theme into the other subject areas in a way that will be beneficial for the students. It can also be difficult to spend a lot of time preparing your lesson to have to rush through it because you only see a group of students for one period a day.

Even with some of these extra challenges in the middle grades, I always try to incorporate a few themes throughout the year.

So here we are at the end of October, with fall all around us, and Halloween just a few days away. With all the excitement of Trick or Treating and the looming Halloween dance, I figure I better make this week a little different, to keep my students engaged.

What better way to incoporate Fall and Halloween than to bring in some pumpkins! 50 of them to be exact, since I teach 2 different classes of students. Luckily we have an awesome Pumpkin patch fairly close by, and they were more than willing to deliver a truck load of pumpkins to the school.


So how do I plan on making good use of these pumpkins? Well first thing was to get my team of teachers on board. Each subject area teacher will be integrating the pumpkins into his/her lessons in some way. As for me, I have a few ideas up my sleeve.

Here are just a few of the things I plan to incoporate into this fun-filled week:
1. Team work
2. Data collection
3. Graphing
4. Problem Solving
5. Design Process

Stay tuned to see what I do tomorrow...

Kim


Wednesday, 2 October 2013

Math is Real Life - October Edition

Now that things have settled down a bit, I am eager to join back up with the fabulous linky hosted by Miss Math Dork, 4mulafun, Fourth Grade Studio, and Teaching to Inspire in 5th!


With all the craziness of back to school last month, I am sad to report I didn't get a post up about how I used math in my life, but rest assured I used it more than a few times.

So here we are, the first Wednesday of October already!
This month, I wanted to think a little out of the box for my example. I am always telling my students that math can be so simple, you don't even realize that you are using it half the time. I tell them I use math the second I wake up and look over at the clock to see that it is time to get up and start my day. So this month's example is about timing...and a few other things.

The Boat:

This summer my husband and I decided to join a dragon boating team. I first got started with dragon boating through school when we were approached about putting together some teams of students for some charity races. I immediately fell in love and finally found an opportunity to join a recreational team close to our new house...and dragged along my husband (I think he enjoys it more than me now!)

Now, what does dragon boating have to do with math? Quite a bit actually.

You need to have the right number of people in a boat. The typical dragon boat holds 20 people, with a steer person in the back and a drummer in the front. We were in a mini boat which holds 10.

You need to have roughly equal weight on each side of the boat. I wasn't interested in testing out my swimming skills by flipping!


You need to be aware of your angles. The way you hold a paddle is very specific, you basically need to have your arms and paddle in a triangle shape or A-frame when you hit the water, being very mindful of not bending your arms. (It is very different from canoeing)

You need to know the distance you are going. We practiced both a 200 and 500 meter race. By the end of the 500, I swear my arm was going to fall off!

You need to determine the speed which you are going to travel. In order to go the fastest the secret is not to paddle as fast and strong as you can, the secret is the be synchronized. If you are in stride with everyone in the boat you you are going to go faster. The drummer sets the pace of the boat with his beat/counting. In order to get a strong start you do 3 counts of five strong, deep paddles, after the boat is moving you slow the cout down to counts of 10 until you pass the finish line. Depending on where you are in the race the drummer may slow the count or speed it up.


You will also want to be aware of your times. In the end dragon boating is a competitive sport. You want to set goals for yourself and eventually beat them. You want to keep track of your progress to see how you are improving.You also want to be aware of your competitors times, in order to beat them!

The Big Race:

So, after praticing once a week during the summer our team signed up for a charity race to raise money for Cancer Care.


We competed in a 500 meter race. How did we do, you ask?


We came in 2nd place with a time of 2 minutes and 35 seconds, missing out 1st place by only 4 seconds!! We were pretty proud of ourselves!!


How have you used math this month?
Let me know how in the comments. Feel free to leave a link to your own blog post.


Kim